Lost Wax Casting Process
-

1: How Bronze Art Comes to Life
Let me take you through the steps of how one of my pieces comes to life. When I get an idea, or a commission, for instance, the Bull, I don’t just jump right in. I start by envisioning the form in my mind, considering how it will stand and how I want it to feel. The bull, is top heavy with its large body and slender legs, so I know I need to build a strong armature that supports the weight of the clay. There’s a little bit of physics involved. Once I’ve gathered some reference material, I begin sculpting.
-
2: Sculpting the Form
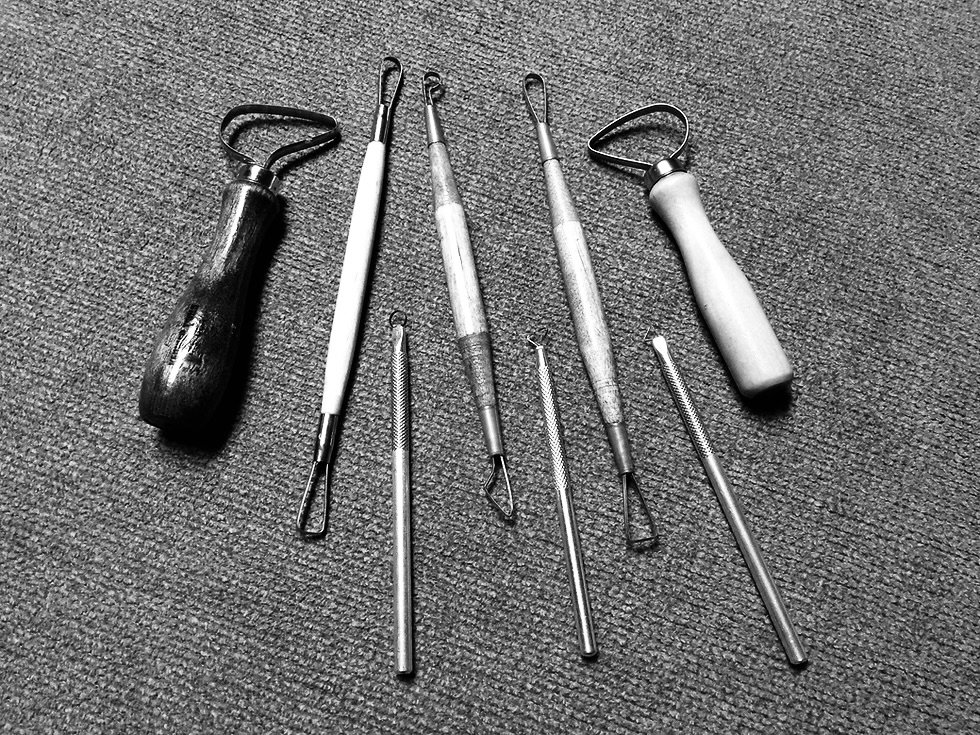
I start layering on the clay. It’s a mix of building up and carving down, using all sorts of tools to shape every inch of the sculpture until it feels just right. This stage is all about the details, and accounts for the majority of creativity and time, with larger projects taking over half a year before I’m satisfied with the clay sculpture, and I move on to the next phase.
-

3: Molding the Sculpture
Pulling the mold can look different depending on the size of sculpture. Smaller sculptures a few molds, and larger projects like the bull require precise sections to be molded separately. The mold process is critical in capturing every fine detail, with two main layers. The rubber layer, which gets into every groove and texture, and the plaster or fiberglass shell that helps hold the shape intact. The mold is then carefully taken apart, cleaned, and prepared for the next step.
-
4: Wax Replica
Once the mold is ready, I deliver it to the foundry. It’s time for the wax replica process. Molten wax is painted or poured inside the mold. The wax cools and hardens, creating a hollow wax version of the original sculpture. This wax replica is key because any imperfection here will show up in the final bronze. We often have to touch up the replicas. There is a wax gating system added which will allow molten bronze to flow correctly.
-

5: The Ceramic Shell
The wax replica is coated in multiple layers of ceramic shell as seen in the previous photo. The process involves dipping the wax in liquid ceramic and then dusting it with fine sand. Once the ceramic shell is dry, it’s ready for burnout. The shell is placed in a kiln where the wax is melted away (lost wax), leaving a perfect hollow cavity in the shape of the sculpture, allowing a space for the molten bronze to be poured.
-

6: Pouring the Bronze
Now comes the heart of the process; casting the bronze. Molten bronze, heated to around 2300 degrees Fahrenheit, is poured into the ceramic mold. The liquid metal flows into every crevice, filling the space left by the melted wax. Once the bronze cools, the ceramic shell is carefully cracked away, revealing the sculpture in bronze.
-

7: Welding and Assembly
For larger sculptures, like The Bull, the bronze is cast in several parts. These panels are welded together with precision, and any seams are smoothed out to match the original texture of the sculpture. Metal chasers use pneumatic tools and grinders to restore the initial details.
-

8: Applying the Patina
The final step is applying the patina, which gives the bronze its character and color. The patina process is part science, part art. I choose the chemicals based on the color I want, whether it’s the traditional French brown or vibrant blues and greens. You heat the sculpture with a torch, allowing the chemicals to react and affix with the metal. This creates unique finishes that bring the sculpture to life.
-

8: A Finished Piece
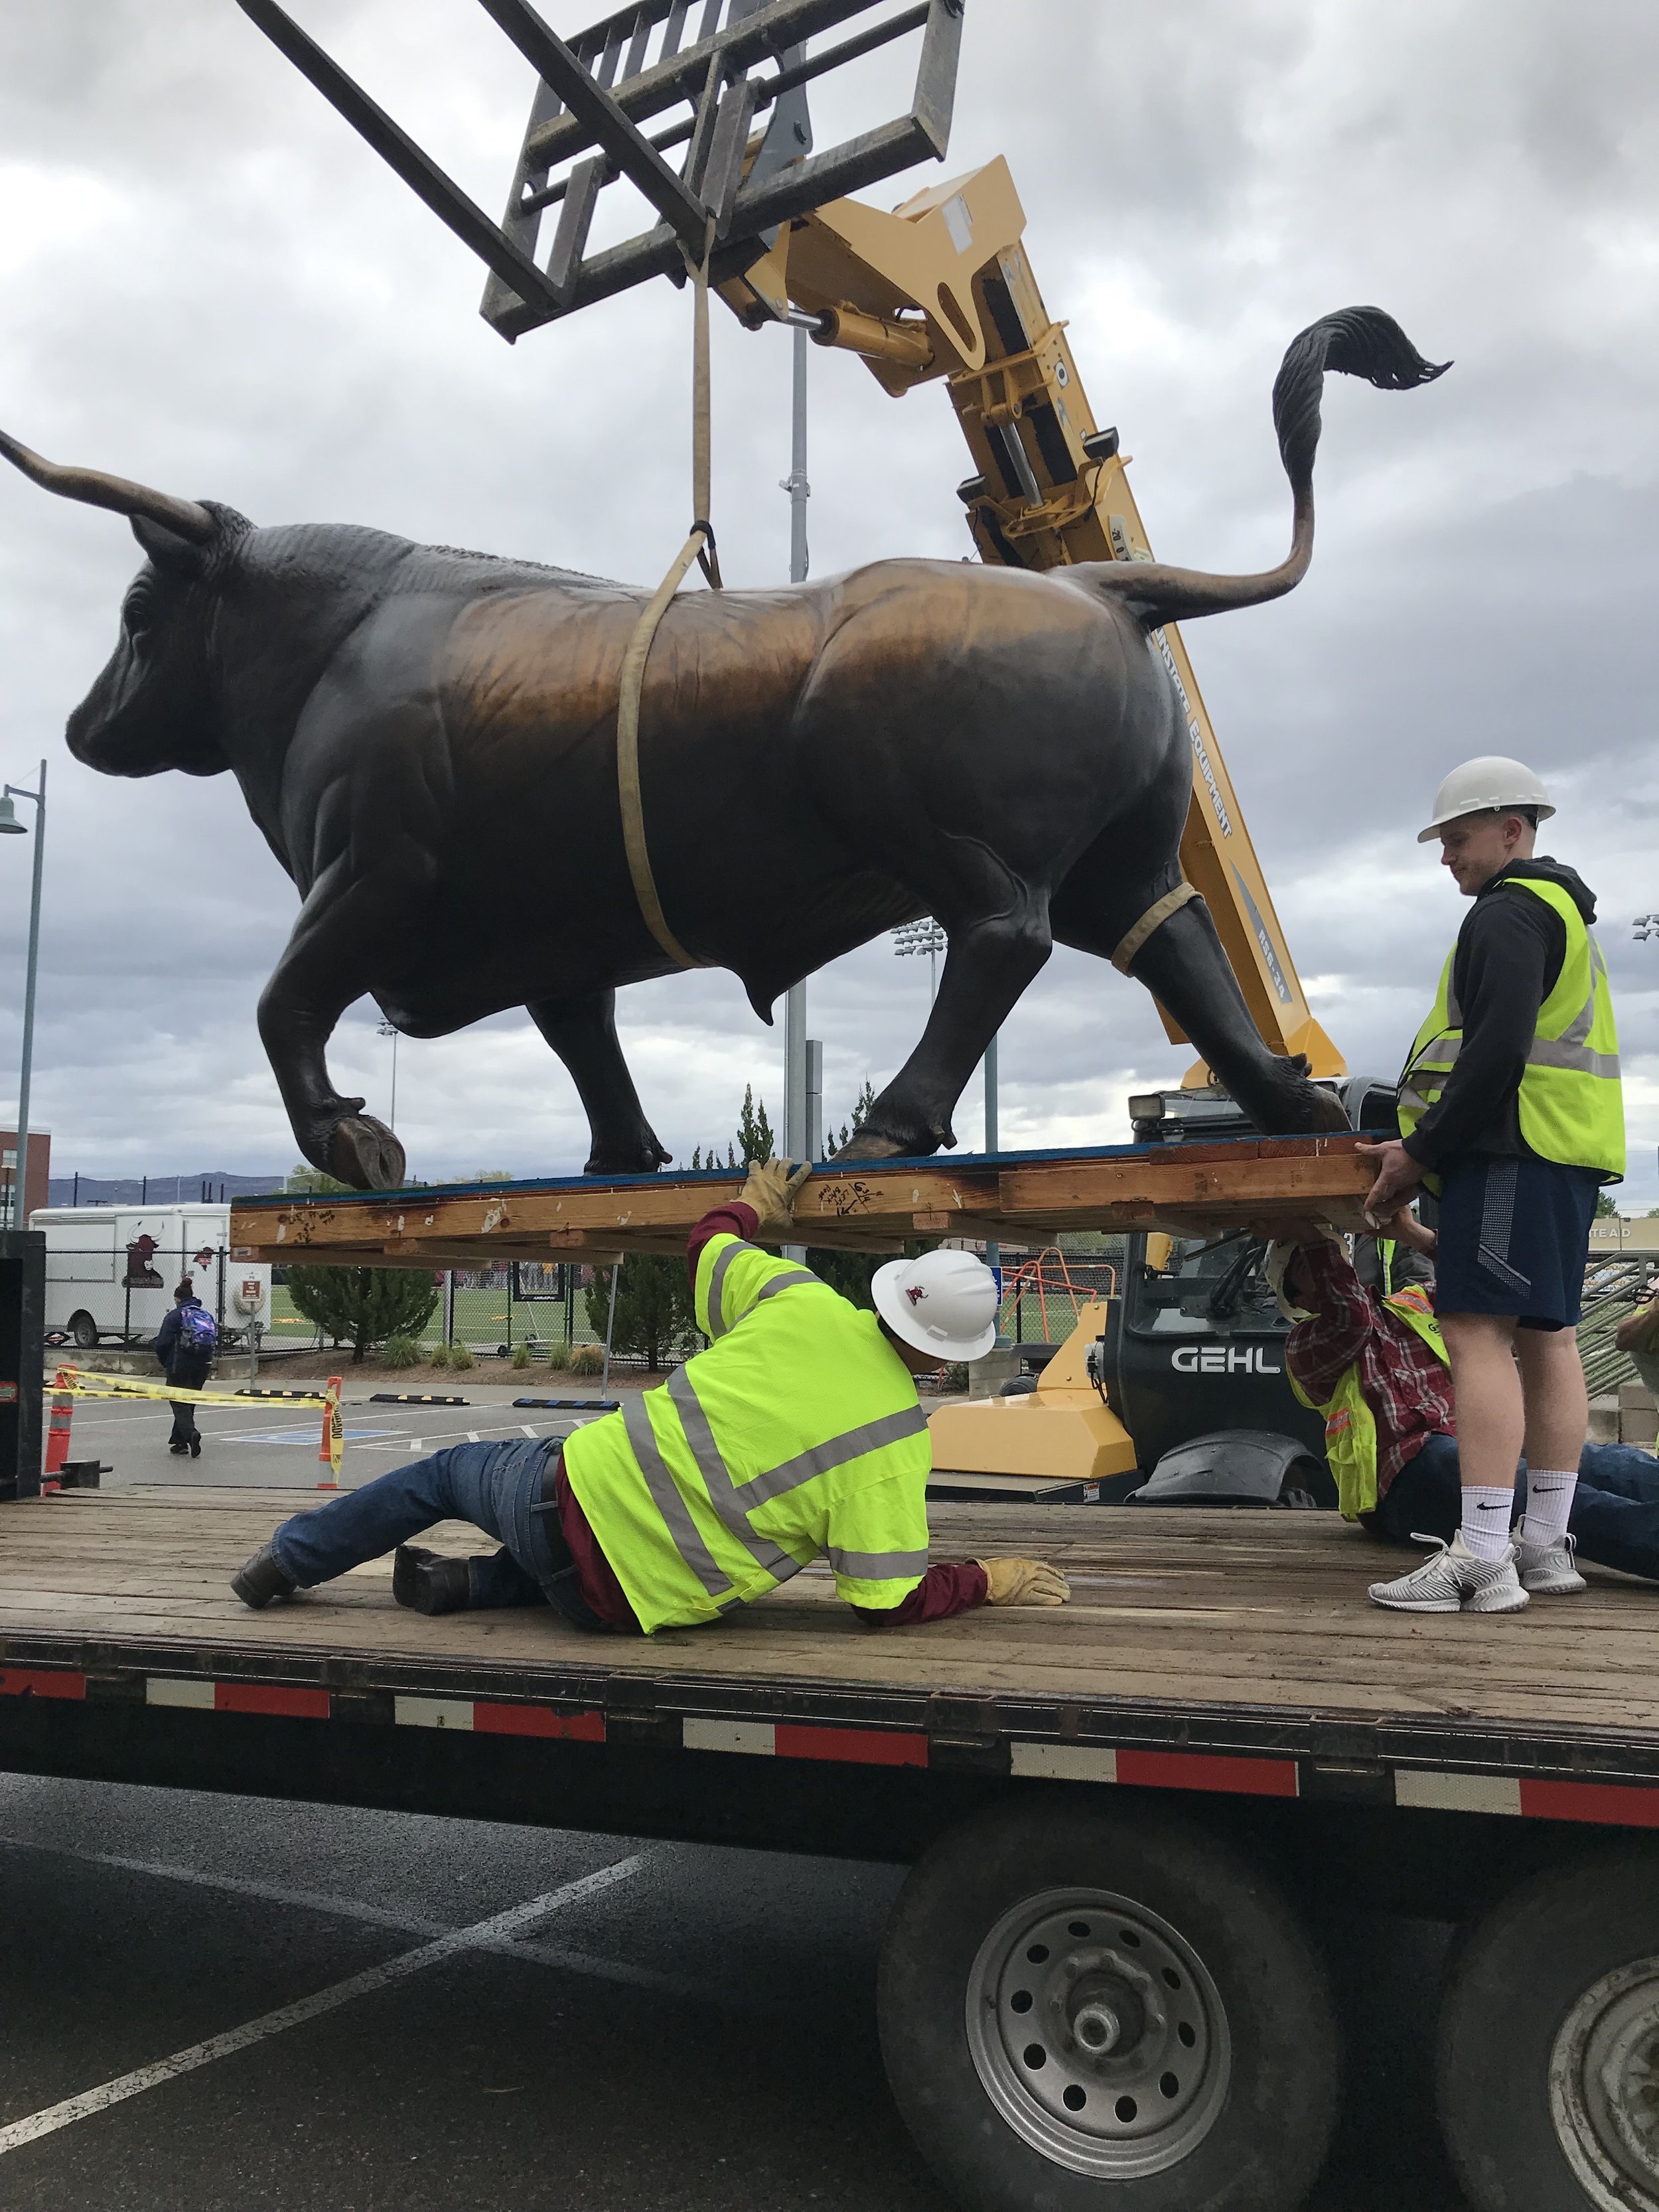
Smaller pieces might require a base, I like to use walnut and or granite. Larger monuments require some serious transportation and installation planning. Once this step is complete, the bronze sculpture is finished and ready to be enjoyed.


